| Visual layout |
I recently set up my projector to enjoy movies more comfortably from my couch. To do this I decided it would be awesome to "hide" my projector inside of the closet that comprises almost an entire side of my apartment. I wanted the video quality from my computer to be halfway decent on the projector, so I decided to move the computer into the closet as well so it could sit next to the projector, and maintain a short run of cable. At the same time, I still wanted to be able to sit at my desk and use my keyboard and monitor like a normal computer.
| Room Layout |
I spend some time this past week drilling a hole into my desk (which is basically extruded steel), into which I could mount the button. My first attempts consisted of using regular drill bits followed by a Dremmel to widen the hole (to .75 in). It only took me about 10 minutes of grinding away at the desk to realize I was using the wrong tool. So I went online and ordered a set of step drill bits. They arrived last night.
I managed to finish the job in another ten minutes. Nothing feels quite like using the right tool for the job. I mounted the button and proceeded to wire it up. Crossing my fingers and praying that the computer circuit just needed a normally open dry contact, I attached the button (I had left my multimeter at work), in parallel with the PC button pins. It worked!
Another lesson learned long ago, is conscientious wiring. I used a screw terminal on the outside of the PC case, followed by jumpers inside. So if I ever need to open my case later, I can just disconnect the wires inside to not be bothered.
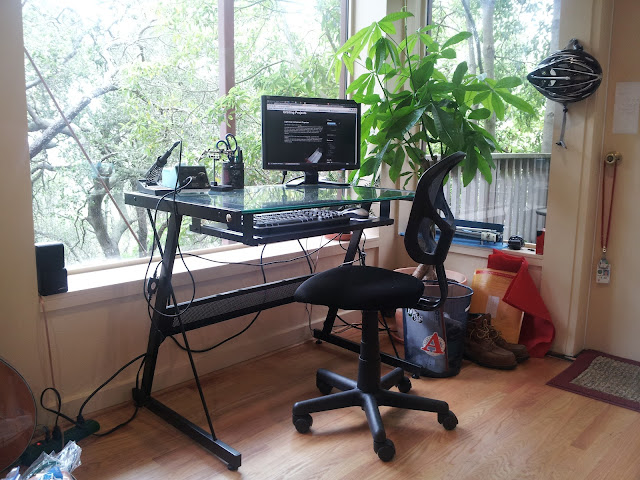
I finished the wiring job and cleaned off my desk (killing two birds with one stone), to take some pictures. I really like how clean my setup is now (in both senses).


No comments:
Post a Comment